Make Your Own Holiday Cards
DIY Holiday Cards!

Block Print Your Holiday Cards
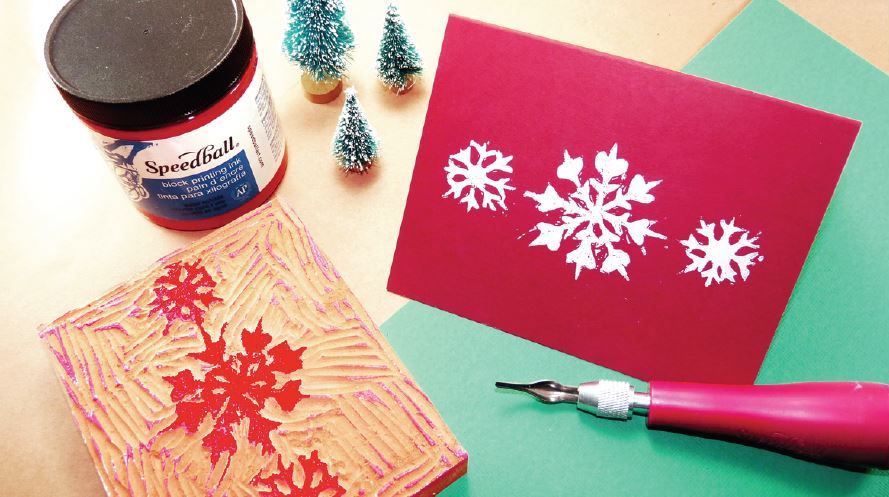
We have all the supplies you need, including kits that make block printing easy for anyone. Try the softer Speedball Speedy-Cut Blocks to bring in the kids for a great holiday family activity, and then print your artwork on your choice of blank Strathmore cards. The Speedball Block Printing Starter Kit includes everything a beginner needs to get started.
Read on to learn more about block printing, and any time come into the store and let our talented staff walk you through it.
What you will need:
- Speedball Speedy-Cut (soft rubber) or Linoleum Block (hard) (about a 6×8 to 3×5 block depending on the size of your card)
- Speedball Linozip Safety Cutter Assortment or Lino Cutter Assortment (has all the blades you will need)
- Speedball Printing Ink (water base or oil base, your choice!)
- Speedball Bench Hook/Inking Plate for safety
- A nonporous surface like a sheet of glass or plastic taped to the table to roll out your ink. You can also use your Speedball Bench Hook as your inking plate.
- Transfer paper, or a #2 pencil to draw your image on the block.
- Soft Brayer to ink your block
- Baron or wooden spoon
- Strathmore blank cards. The texture of the card will affect the clarity of your printed image.
How to Block Print:
Transfer your chosen image to the block surface. You can use transfer paper to trace a pre-drawn image on to your block or use a #2 pencil to make your own transfer paper.
Place your Speedy Carve block on your work surface. It is fairly stable since it is rubbery. If using a Lino block place it on your Bench Hook to keep it stable, or you can push your block up to a wall if your reach is reasonable.
Carving the Block:
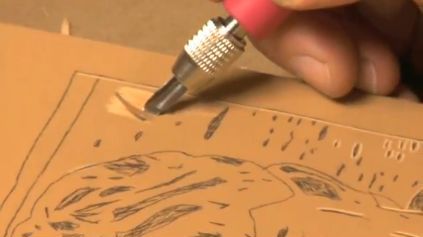
 Take your blades out and pick a V-groove. Carefully pull your cutting hook around the outside of your image with your v-groove hook pressing shallowly into the rubber. For the harder Lino blocks carefully gouge (pushmotion) around the outside of your image with your v-groove blade pressing shallowly into the linoleum. (Note we recommend rubber blocks and the more controlled pull motion of the Linozip Safety Cutter Assortment for kids), Follow your lines eventually carving away all the background or ‘negative space’ of your image. You can use the various style blades that come with the blade assortment to clean up the background. You may find turning the Speedy-cut block may help you position your hands for the pulling motion. Only the raised areas you leave uncarved will ink and convey your image. Caution: these blades are very sharp!
Put some block printing ink on your Bench Hook/Inking Plate or on your other nonporous surface. You don’t need a lot, try putting a teaspoon or the size of a quarter down. With your brayer, roll the ink back and forth spreading it across your surface thinly like you are painting that surface. Sometimes you hear a tacky sound–that’s good. You don’t want your ink too thick. While you are rolling your ink out you are coating the brayer. Roll your inked brayer carefully along the raised image of your Speedy Carve or Lino block.
Place your paper down over your rubber block and press gently just to make the paper stick. For a Lino block, place your paper down and carefully stamp the linoleum block onto your paper. The paper should stick to the block when you lift it up. Now with your baron or the back of a wooden spoon rub the back of the paper attached to your block to get the ink into your paper. You can also use the Speedball Model B Press for this same purpose. Gently peel the paper away and look at your image.
Make any adjustments by carving away any have high marks that you didn’t want inked. If you are using oil based ink your image may take a day to dry. If you use water based ink your image may dry too quickly and you might want to use some of the Speedball Ink Retarder.
Have fun and experiment!
